| Table of Contents | ||||
|---|---|---|---|---|
|
Getting Started
Using Manage Users for Jira Cloud app, you can list all users and detect inactive ones in your Jira, Confluence and Service Management. Then you can deactivate/activate users(individually or in bulk) to reduce your costs and increase your security.
| Info |
|---|
Prerequisite
|
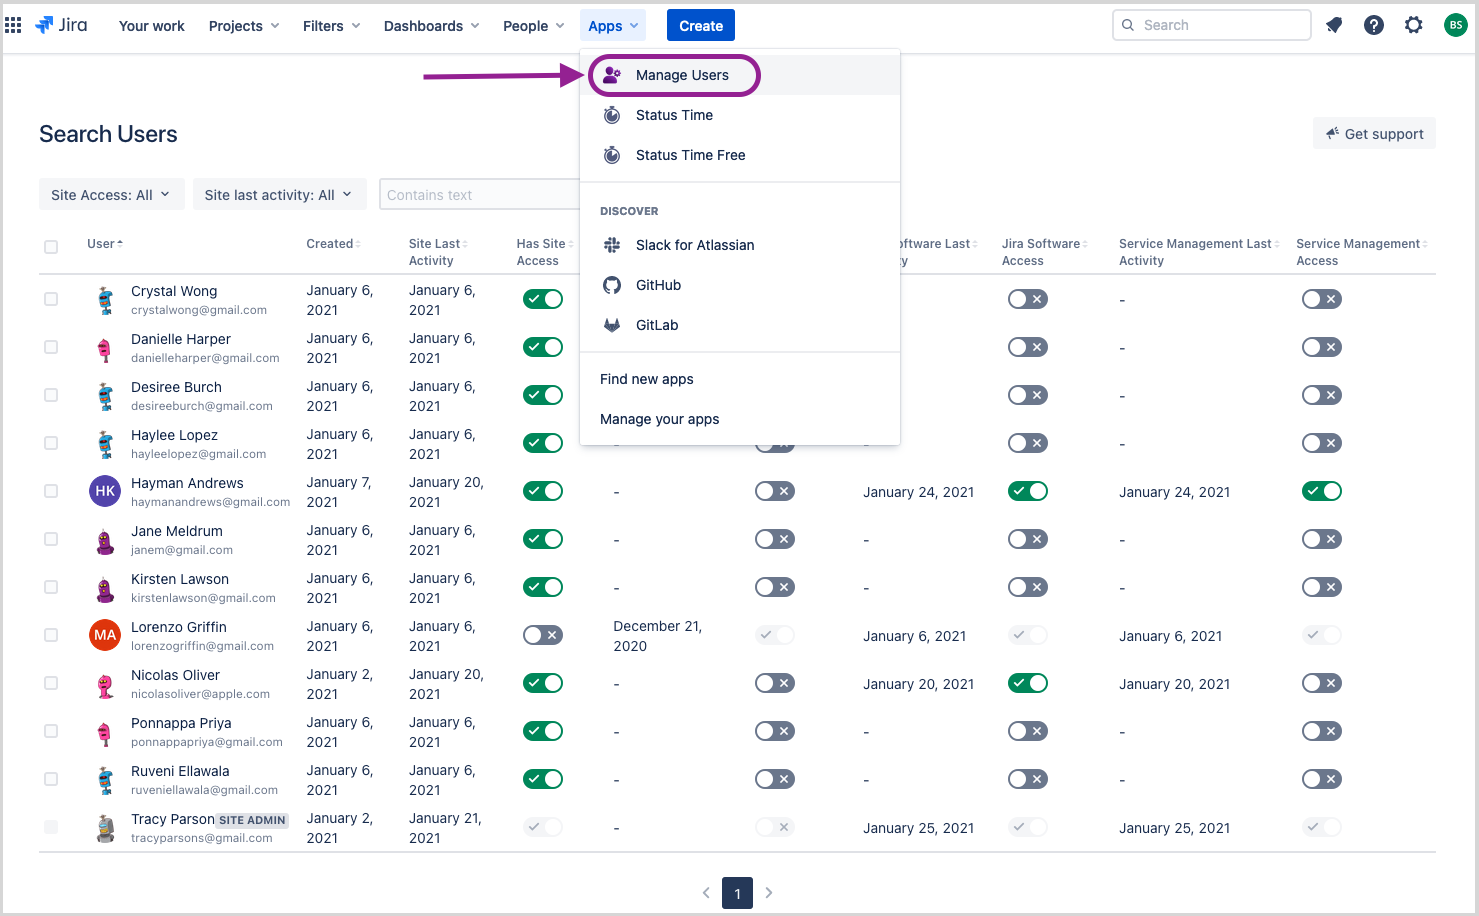
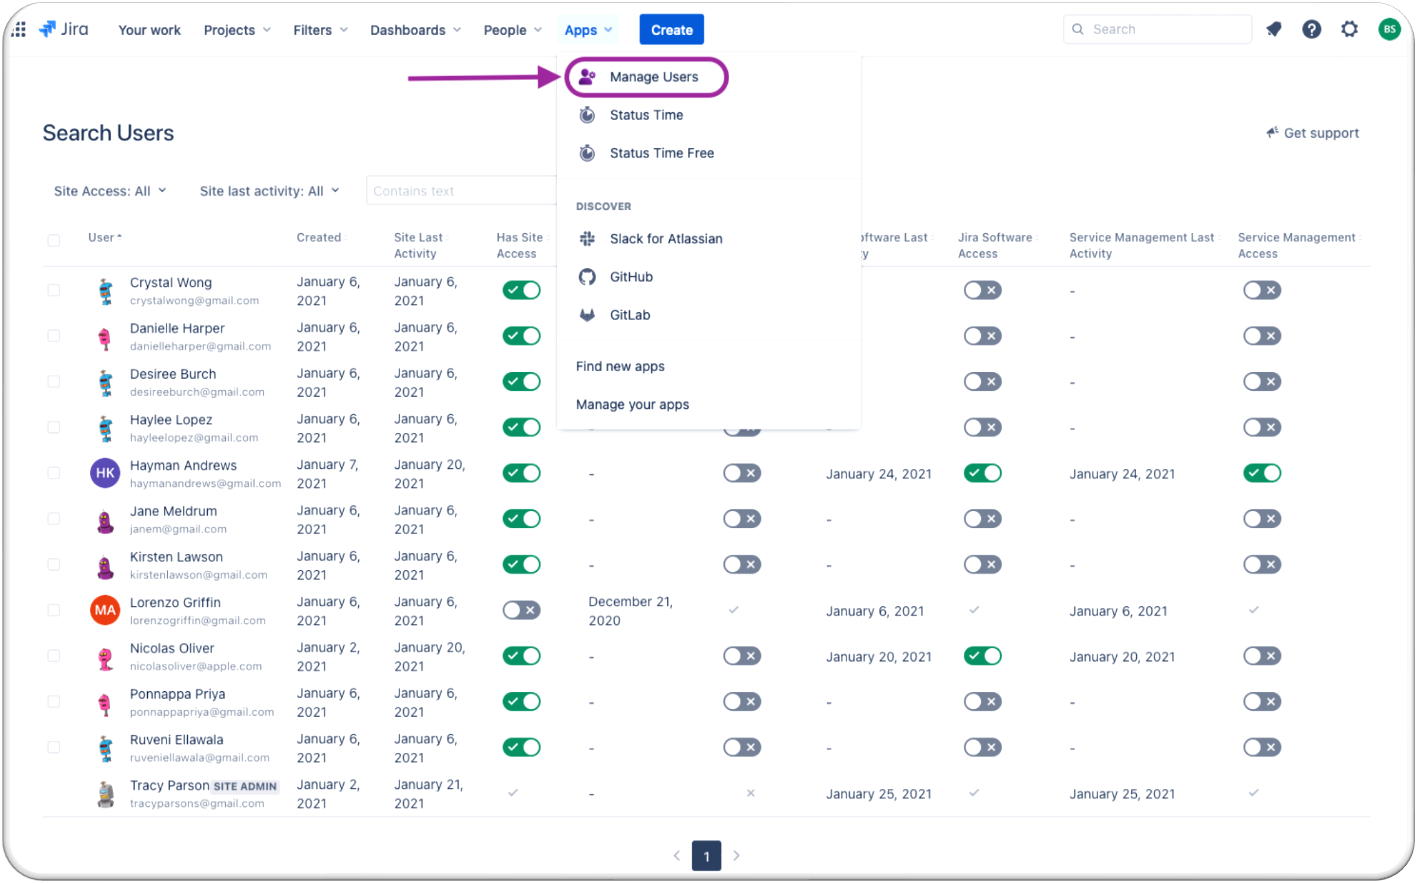
After installation of the app, “Manage Users” page will be accessible from the top menu as can be seen below.
App Usage
For each person in your company that need to use Jira, Confluence or Service Management, you must create an individual user and grant the necessary access rights.
As time passes, the owner of the user,
may leave the company
may be assigned to another position or project within the company that requires different access rights
When an employee leaves the company, you need to deactivate this user and make sure that he/she cannot use your Jira and can’t access to any resource in your Jira anymore. There may not be just one user but a number of users, then you must deactivate them all.
When an employee is assigned to a different position or project, you need to grant new access rights to the user and/or revoke some of the user’s existing access rights.
There might also be cases where you’ve created the user but the user hasn’t logged in for a long time. In this case, you may choose to deactivate the user.
In addition to the cases above, as a part of user recertification process you need to periodically check your users' status and rights to make sure that product access is limited to those who still have a valid business purpose and they have access only to what they need. By doing this, you both increase your security and manage your cost more effectively.
If you have a high number of users, it will take a considerable amount of time to check each individual user’s last activity time and product access rights one by one. This app provides solutions help you simplify this process.
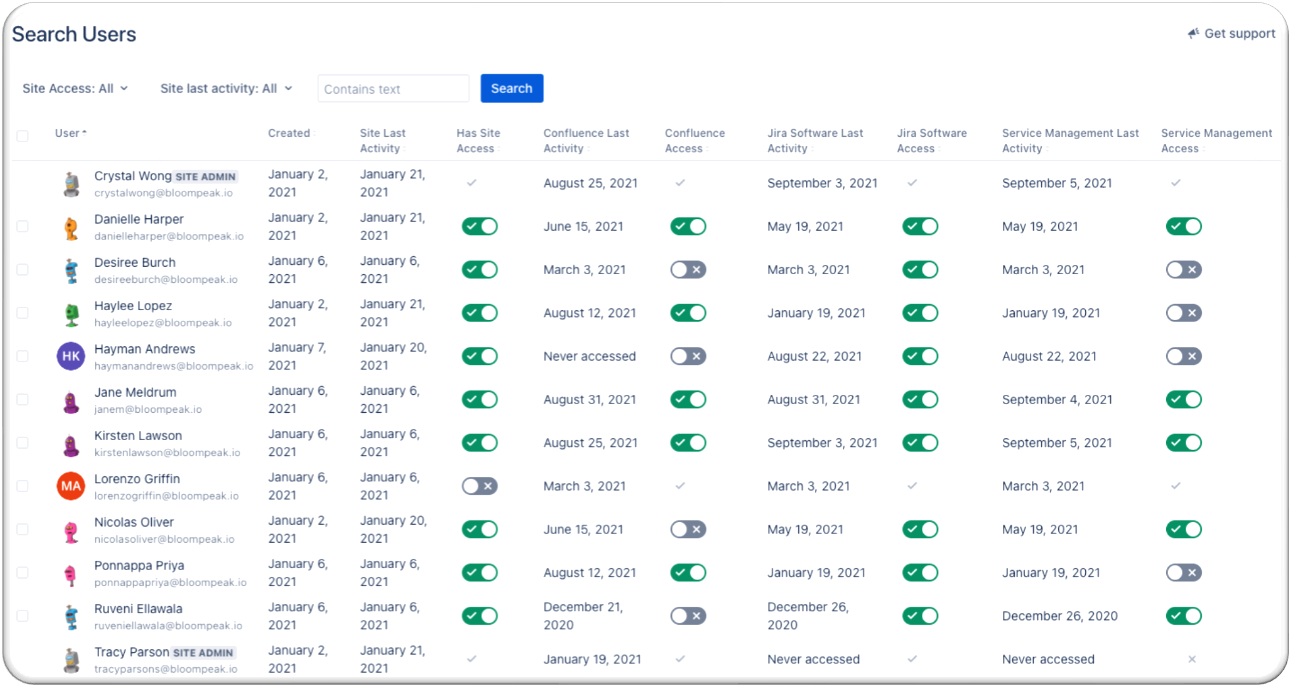
1. List Users
Users are listed in a sortable table. You can sort users by clicking the table header. Users can be filtered by site access, last activity time. You can also filter user name and email by typing into “Contains text“ field.
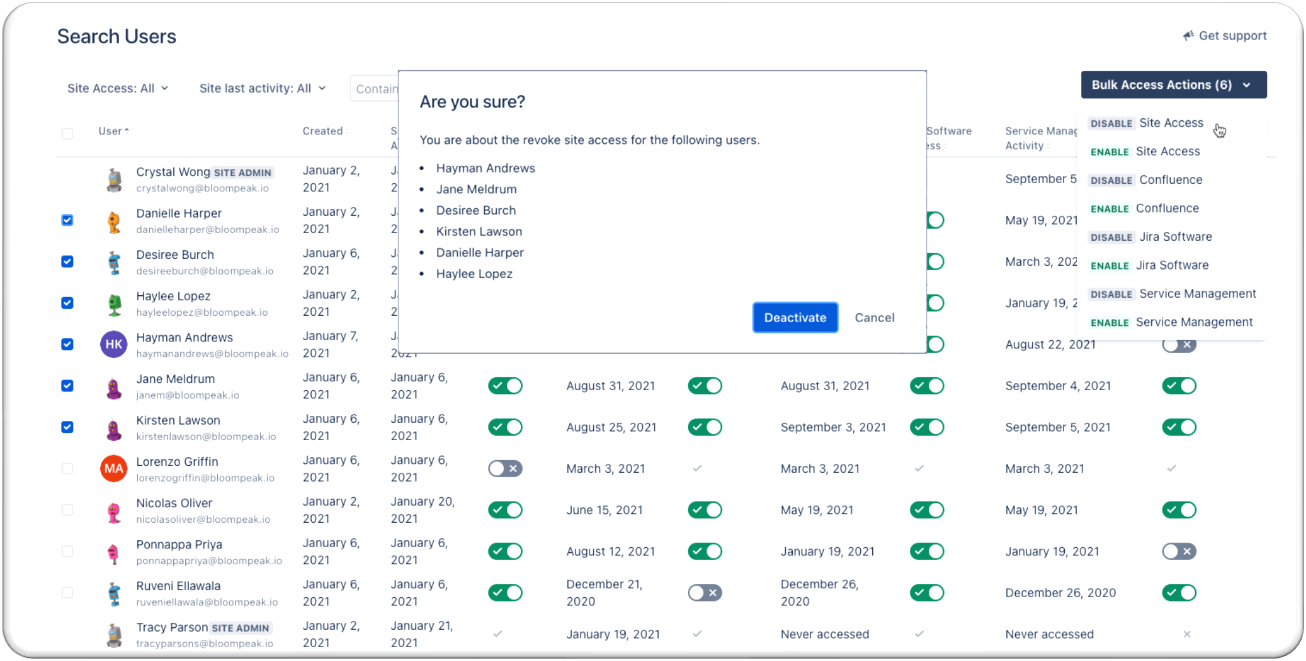
2. Grant/Revoke Access
Grant/revoke product access individually or in bulk.
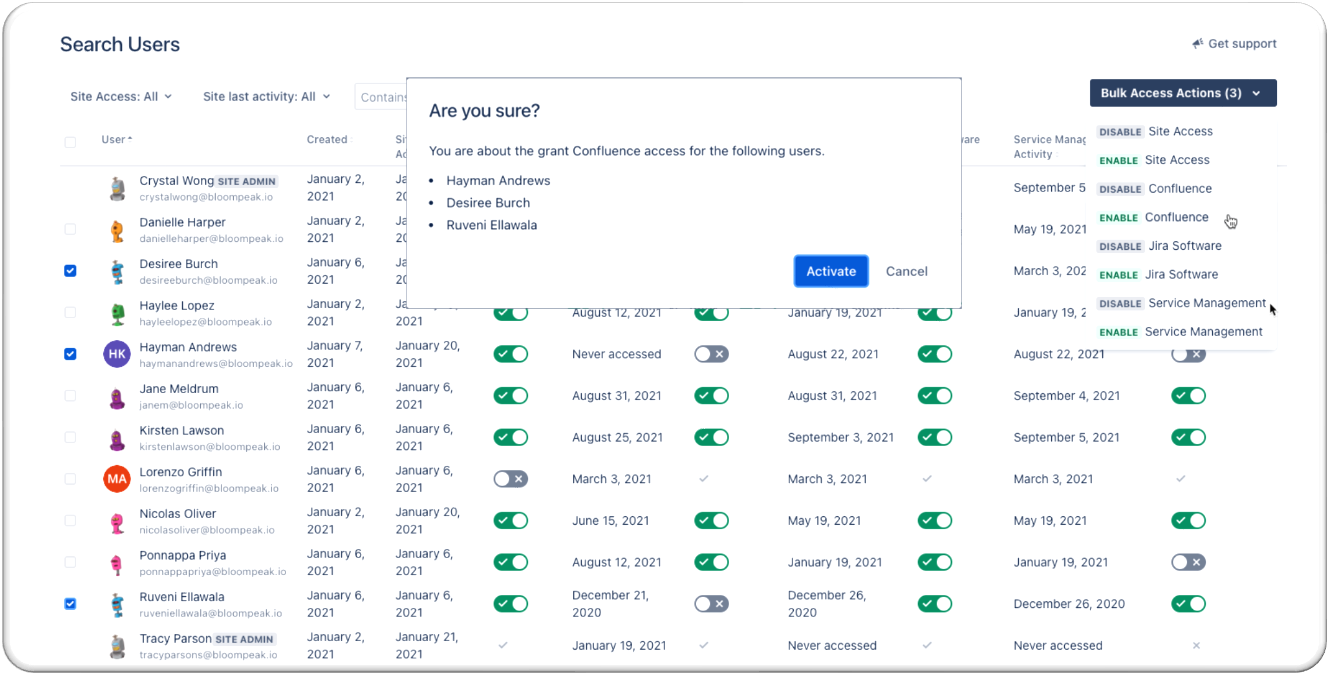
3. Activate/Deactivate Users
Deactivate/activate users individually or in bulk.
If you need help or want to ask questions, please contact us through our Service Management or via email to support@bloompeak.io.